How to Create and Edit a Video Using VideoAiditor
Follow these steps to upload assets, create a video, and use the API to manage and share video edits using VideoAiditor.Step 1: Edit a Video in the Editor
- Go to https://editor.videoaiditor.com.
- Start by uploading your assets (e.g., images, videos, audio).
- Edit your video using the available tools in the editor.
Step 2: Export the Video
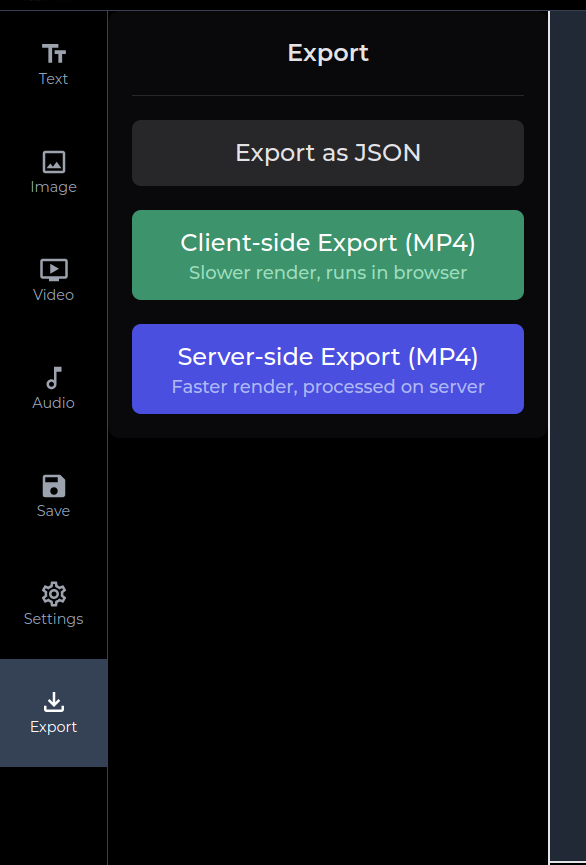
Once you’ve created your video, go to the Export tab.
- MP4: Choose this option if you want to download the video as an MP4 file.
- JSON: If you want to use the video as a template for your AI platform, export the video as a JSON file.
Replace Asset URLs in the JSON
If you’ve chosen to export as JSON, you will need to modify the file before sending it to the API:- Open the exported JSON file.
- Replace the source URLs of the assets with valid, publicly accessible URLs (e.g., links to images or video files).
- Ensure that the URLs are publicly accessible; otherwise, the video may not load correctly.
Step 3: Use the API to Create the Video
Send your edited video JSON and get the link for further editing, use the following API endpoint: Add your API key to the request header as follows:x-api-key: YOUR_API_KEY
POST request to https://api.videoaiditor.com/v1/videos with the JSON body and the appropriate headers.
Request Body Example
Step 4: Handle the Response
Once you send the request, the API will return a response that includes data in the following format:Important: Save the redirectUrl
The response will contain a redirectUrl field in the metadata. Save this URL — it’s a special link that will allow you to continue editing the video.
- The URL is public but only accessible to users who have the link.
- You can share this URL with others to allow them to edit the video. Since it’s a presigned URL, no one else will be able to access it without the exact link.
Final Notes
- Security: Be cautious when sharing the
redirectUrlsince it provides direct access to that video in video editor. - Public Access: Ensure the asset URLs you provide in the JSON are publicly accessible. If they are private or restricted, the video may not load correctly when editing.
- API Key: Keep your API key secure. Do not share it in public forums or expose it in client-side code.
